Bluetooth tag installation
Stick It On or Zip-Tie It: Geotab Tool Tag Installation
Drills, cases, hoses, cords, and gear too small for a full tracker. We scope the right tag for your gear.
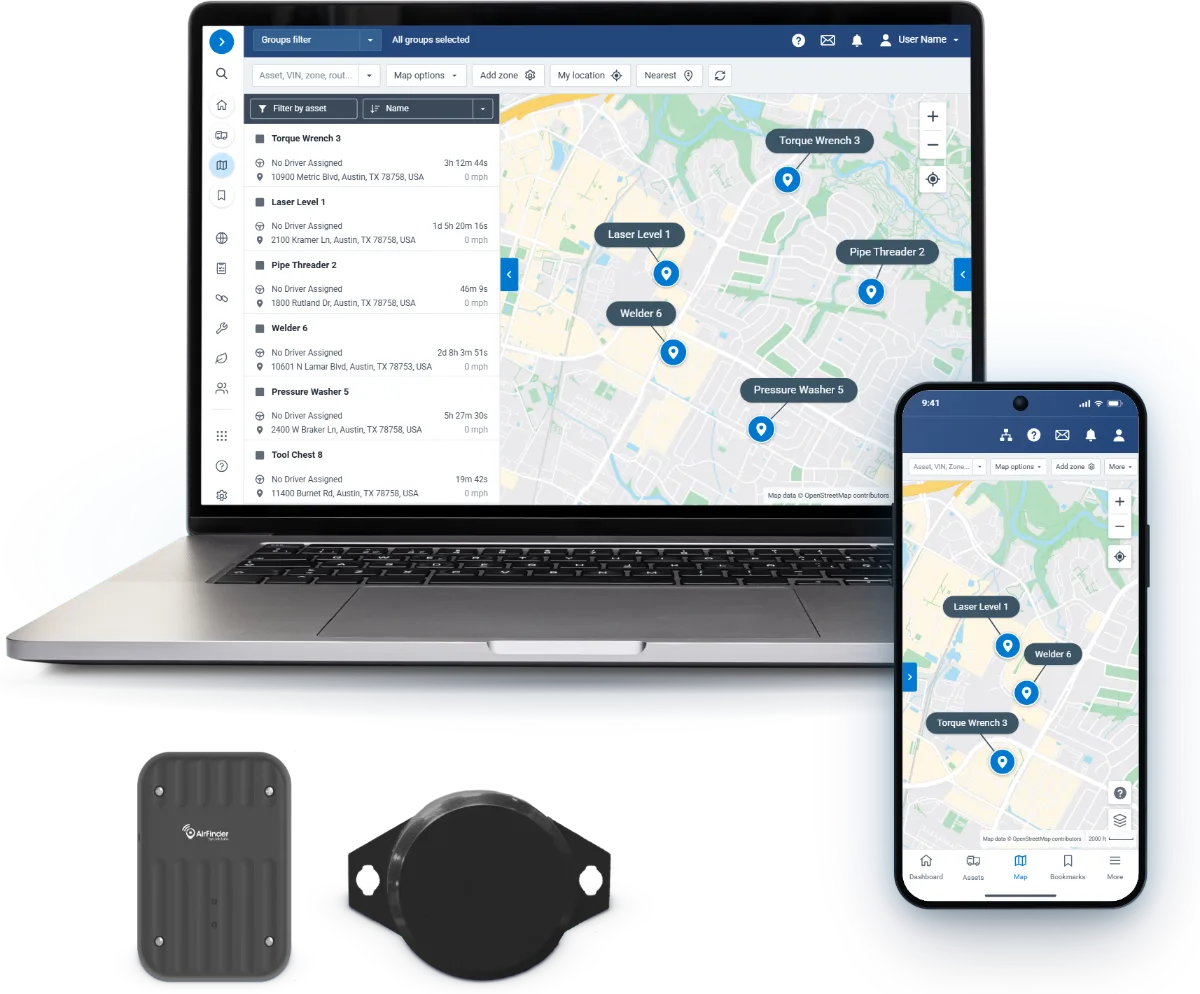
Bluetooth tag installation
Drills, cases, hoses, cords, and gear too small for a full tracker. We scope the right tag for your gear.
Geotab tool tag size and fit
Tags go on drill cases, tool boxes, ladders, hoses, and cords, and we scope the right tag for each tool class.
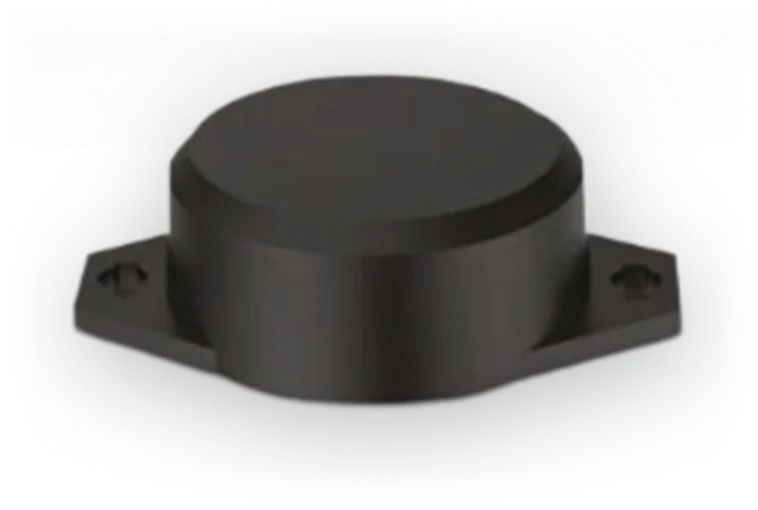
Tool cases, boxes, and gear with a flat side.
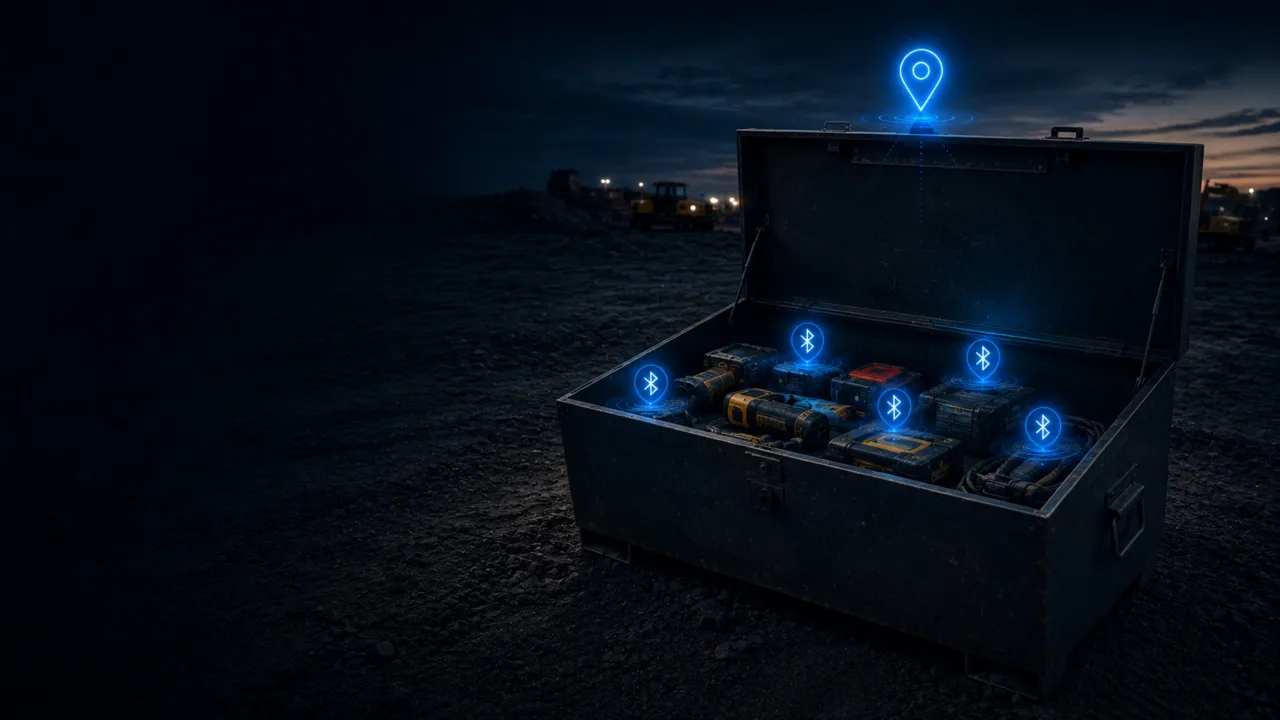
Pick a flat spot on the case where it will not get knocked.
Press the adhesive back on.
That is the install. The trackers and cameras already in your fleet, hub tags, and the Hubble Network pick it up and report its last-seen location.
Gear with no flat side.
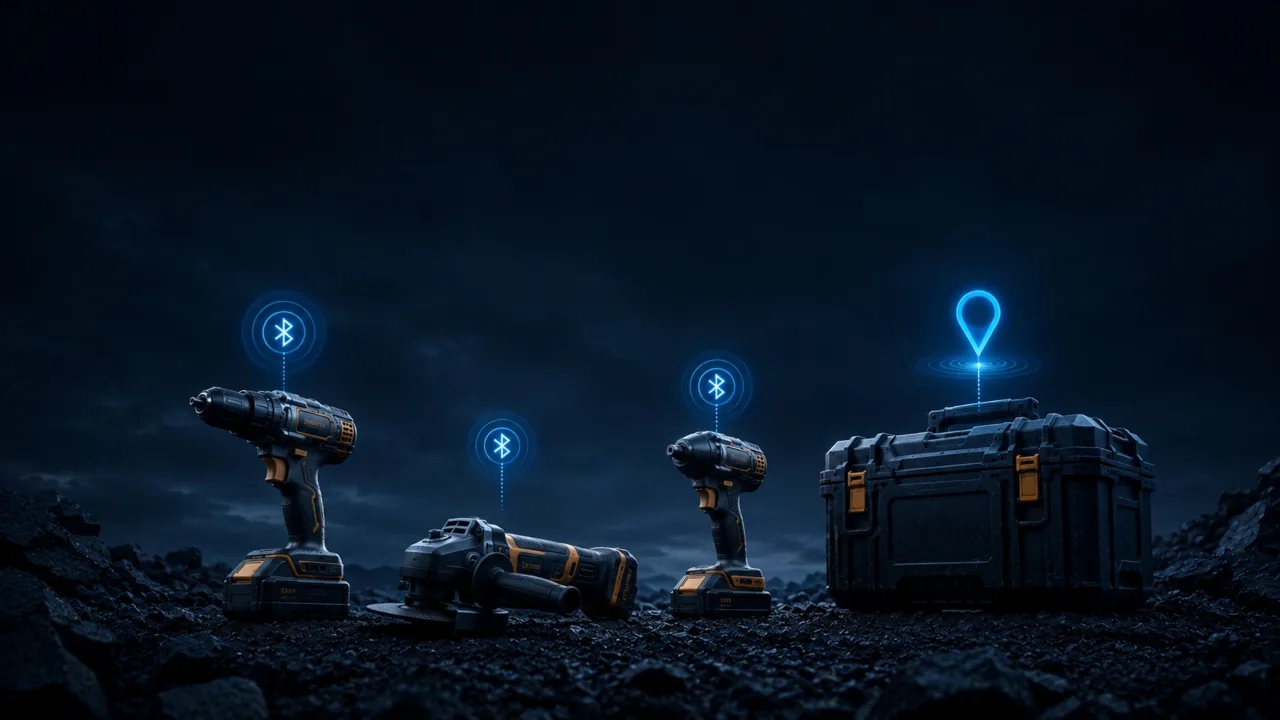
Zip-tie the tag to a handle, hose, or cord where it will not get knocked.
Same readers, same last-seen location on your map.
If your gear is different
Round handles, dusty surfaces, and tools that wander are still a quick job for your own crew.
Your crew: Zip-ties the tag to a handle, a ladder rung, or the end of a hose, where it will not get knocked.
How we help: Same readers, same last-seen location on your map.
Your crew: Wipes the spot clean and dry and presses the tag on firmly, or zip-ties it where adhesive will not hold.
How we help: We scope the right tag and mount for your gear.
Your crew: Leaves it where it is.
How we help: Its last-seen location stays on your map, with where and when it was last read.
Your crew: Keeps working, with nothing extra to do.
How we help: Every reader picks up every tag, and separation and left-behind alerts flag a tool left at the site.
Your crew: Puts a GO Anywhere Plus on it instead, with the same press and place.
How we help: We scope the right tracker for powered, high-value, or remote units.
Where it will not get knocked: on a flat side of a case or box, or zip-tied to a handle, hose, or cord.
The trackers and cameras already in your fleet, hub tags, and the Hubble Network report its last-seen location.
Powered, high-value, or remote units belong on a GO Anywhere Plus, and we scope the right one for your gear.
We stay on the line until the device is reporting. New to Geotab: start with a free demo device.