GO Focus dash cam installation
Windshield Mount, One Cable: Geotab Dash Cam Installation
Any vehicle with a GO9 or GO10. Every GO Focus camera is Plug-N-Play with the tracker already in the vehicle.
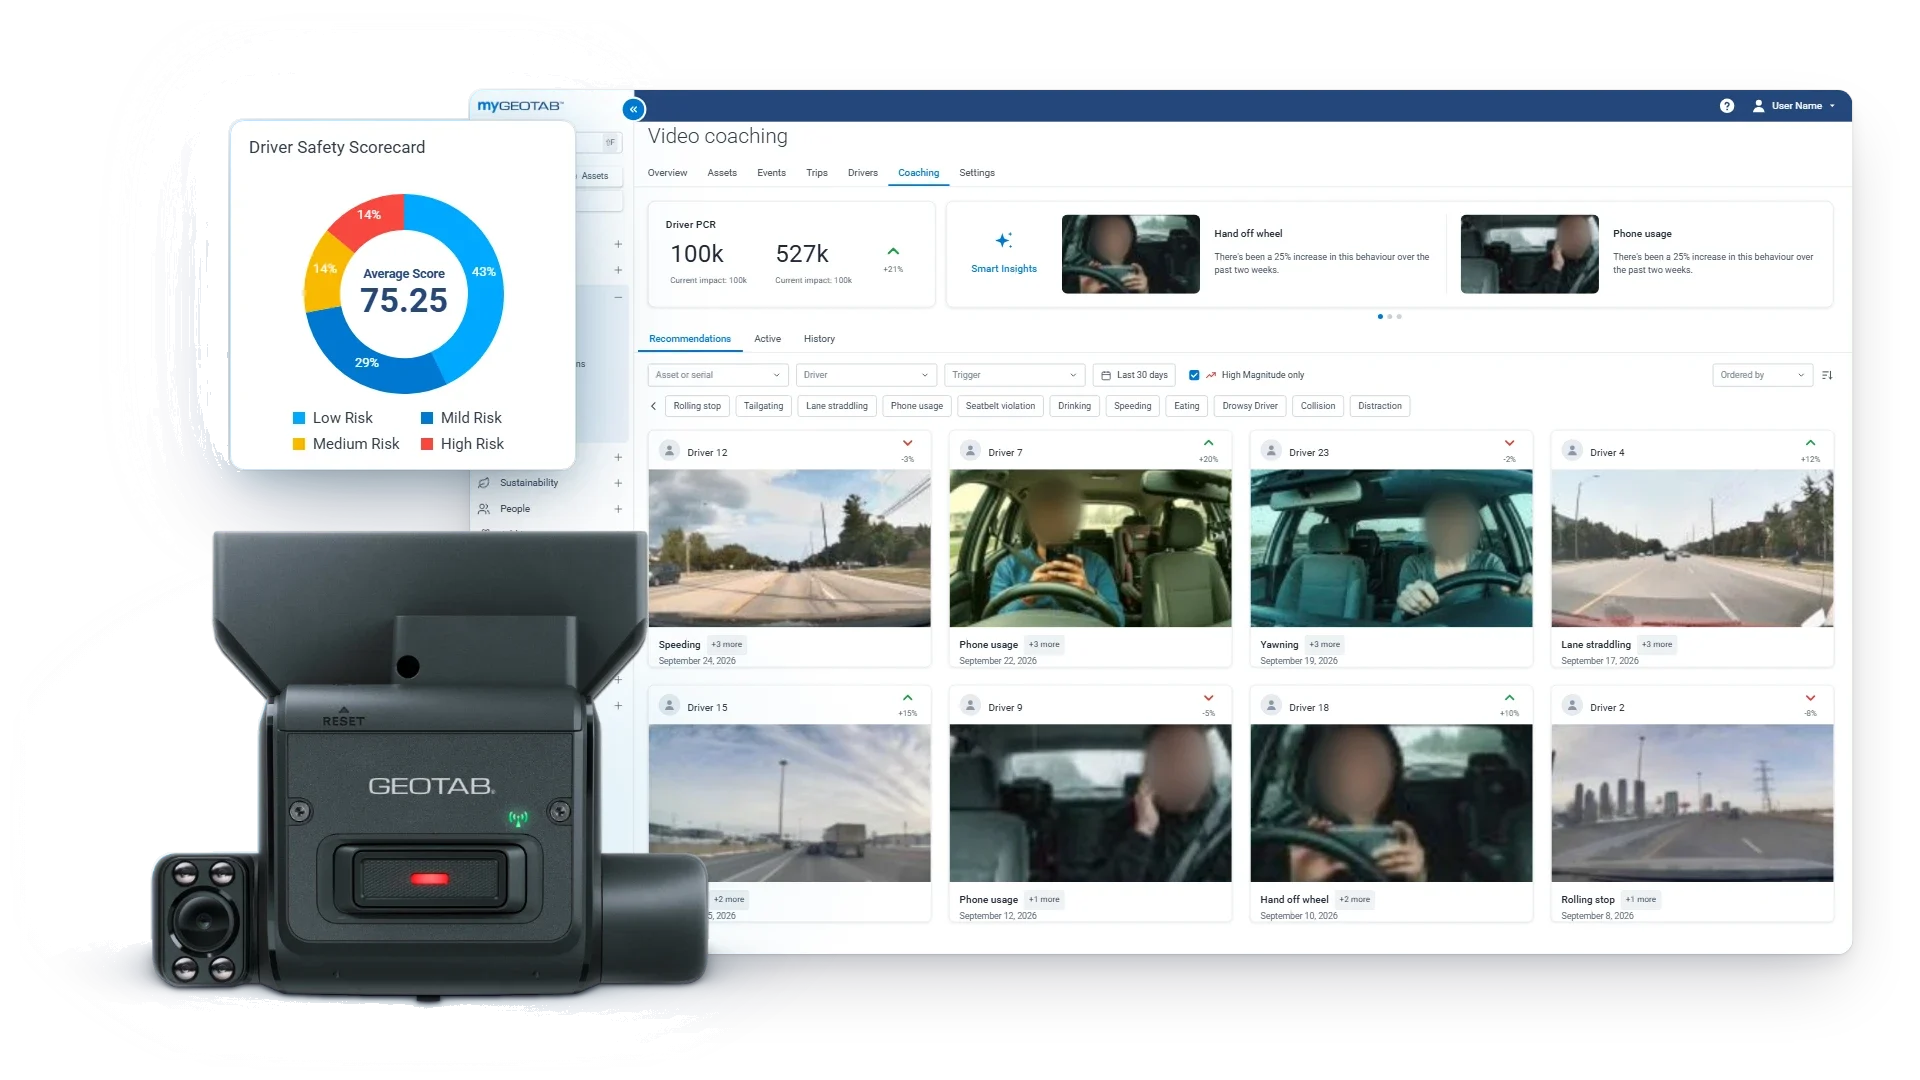
GO Focus dash cam installation
Any vehicle with a GO9 or GO10. Every GO Focus camera is Plug-N-Play with the tracker already in the vehicle.
Size and Fit
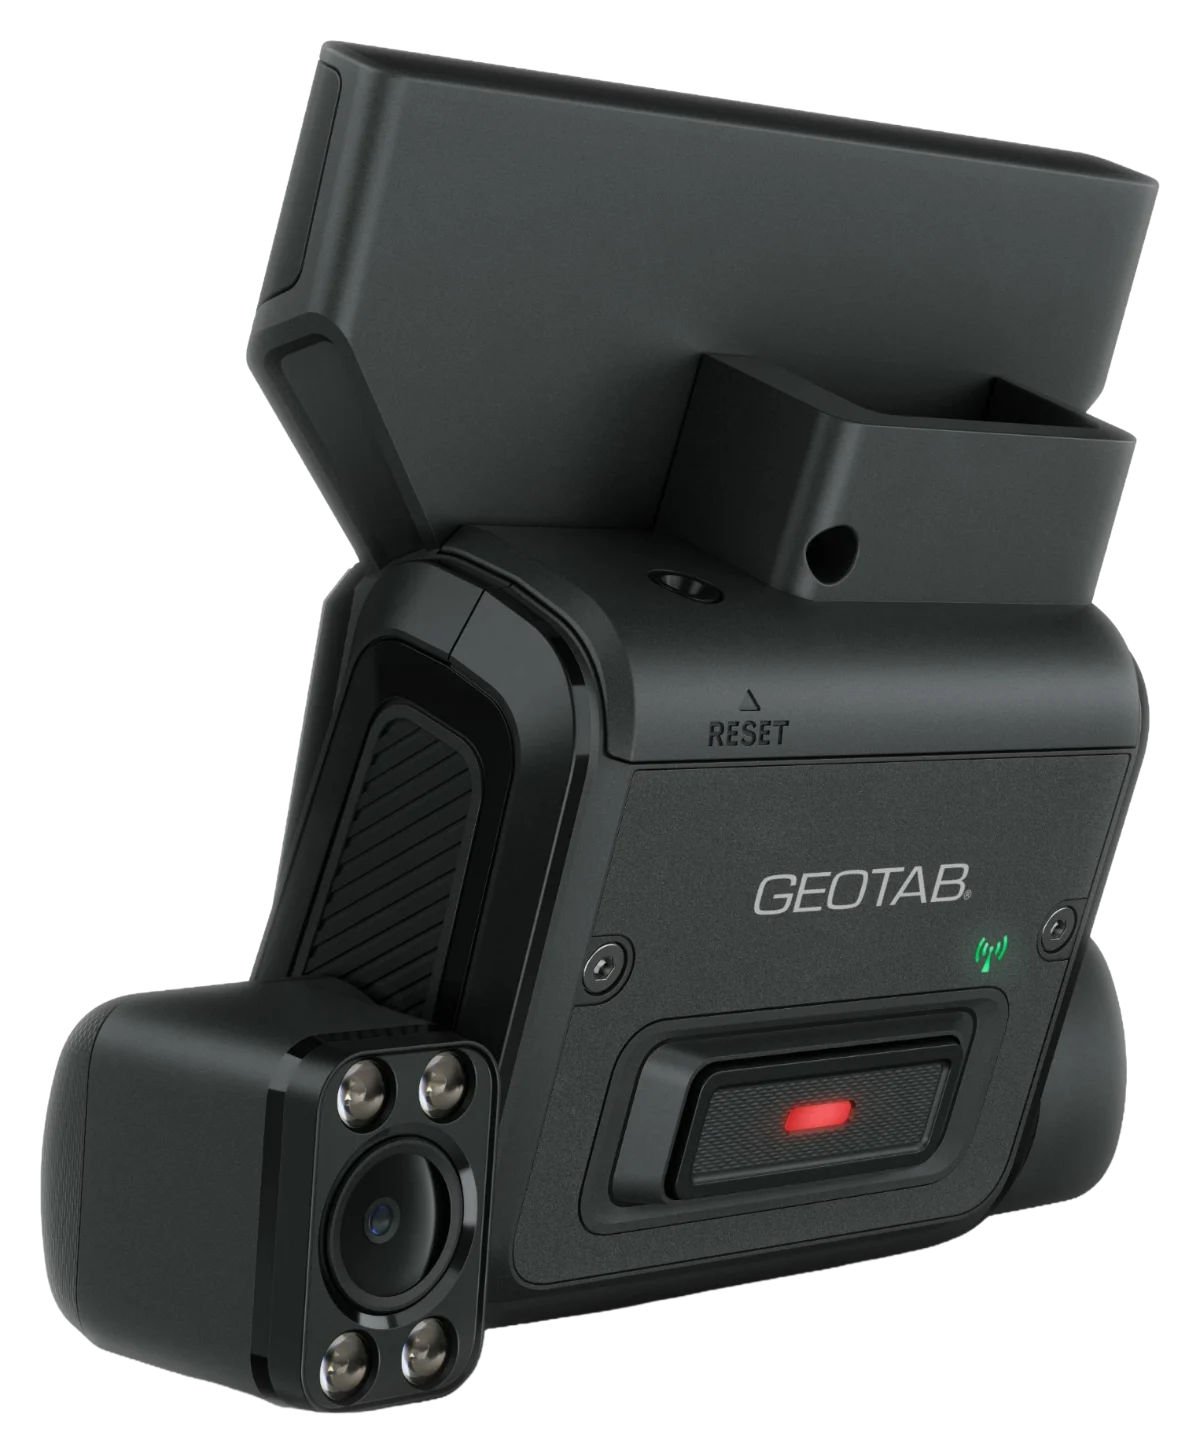
Each GO Focus camera is about 5 in across and sits high on the glass behind the mirror, clear of the driver's view.
The road-facing AI camera, on any vehicle with a GO9 or GO10.
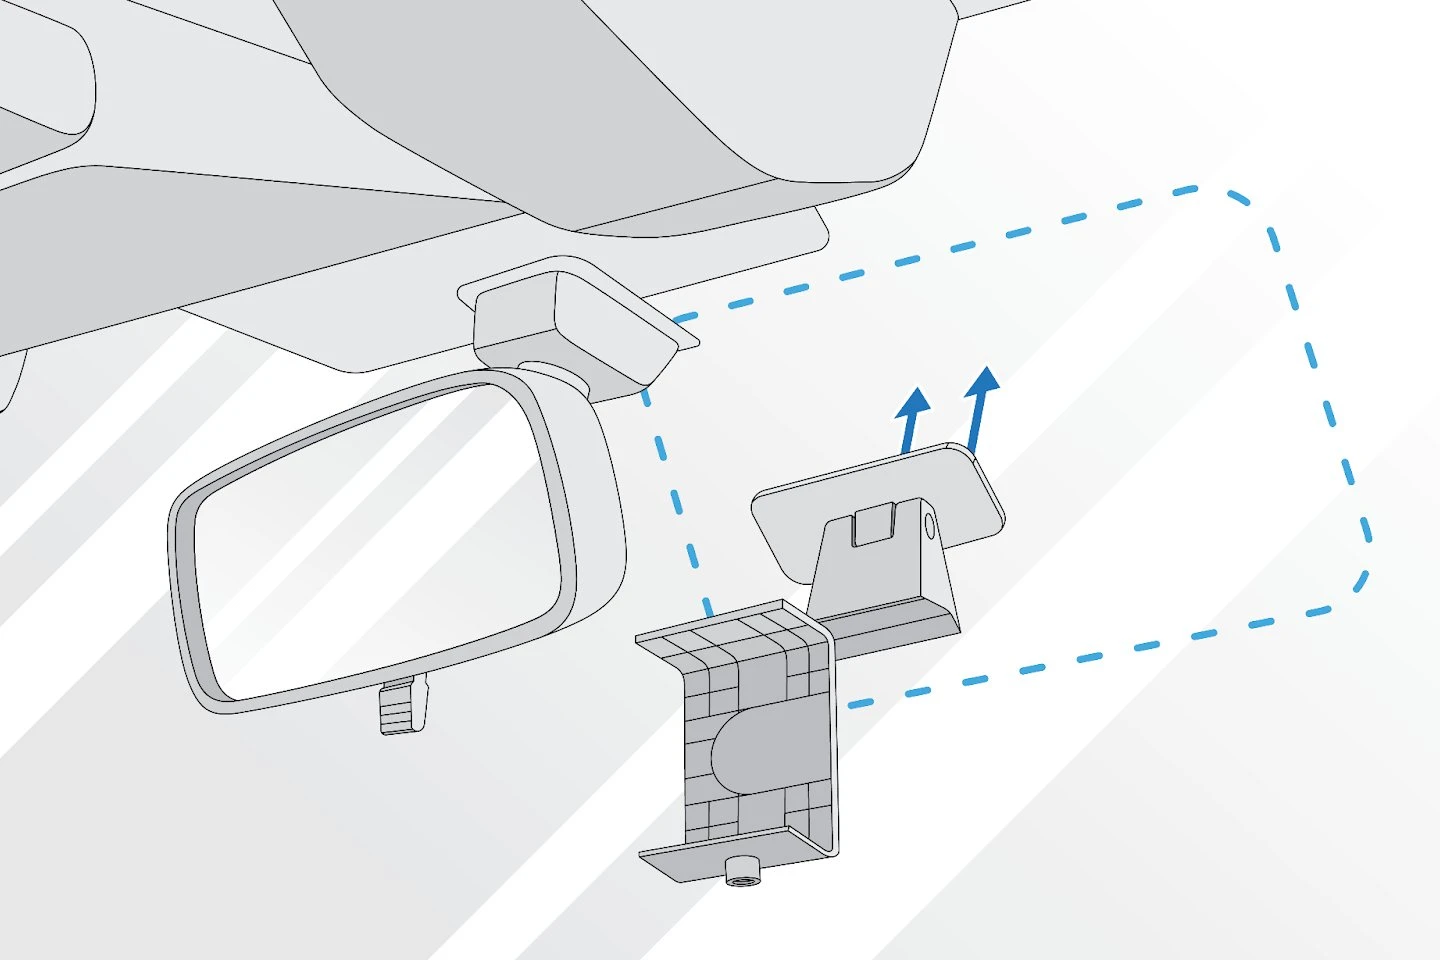
Wipe a windshield spot inside the wiper sweep, clear of the driver's view.
Press the bracket to the glass for 30 seconds, level and facing straight ahead.
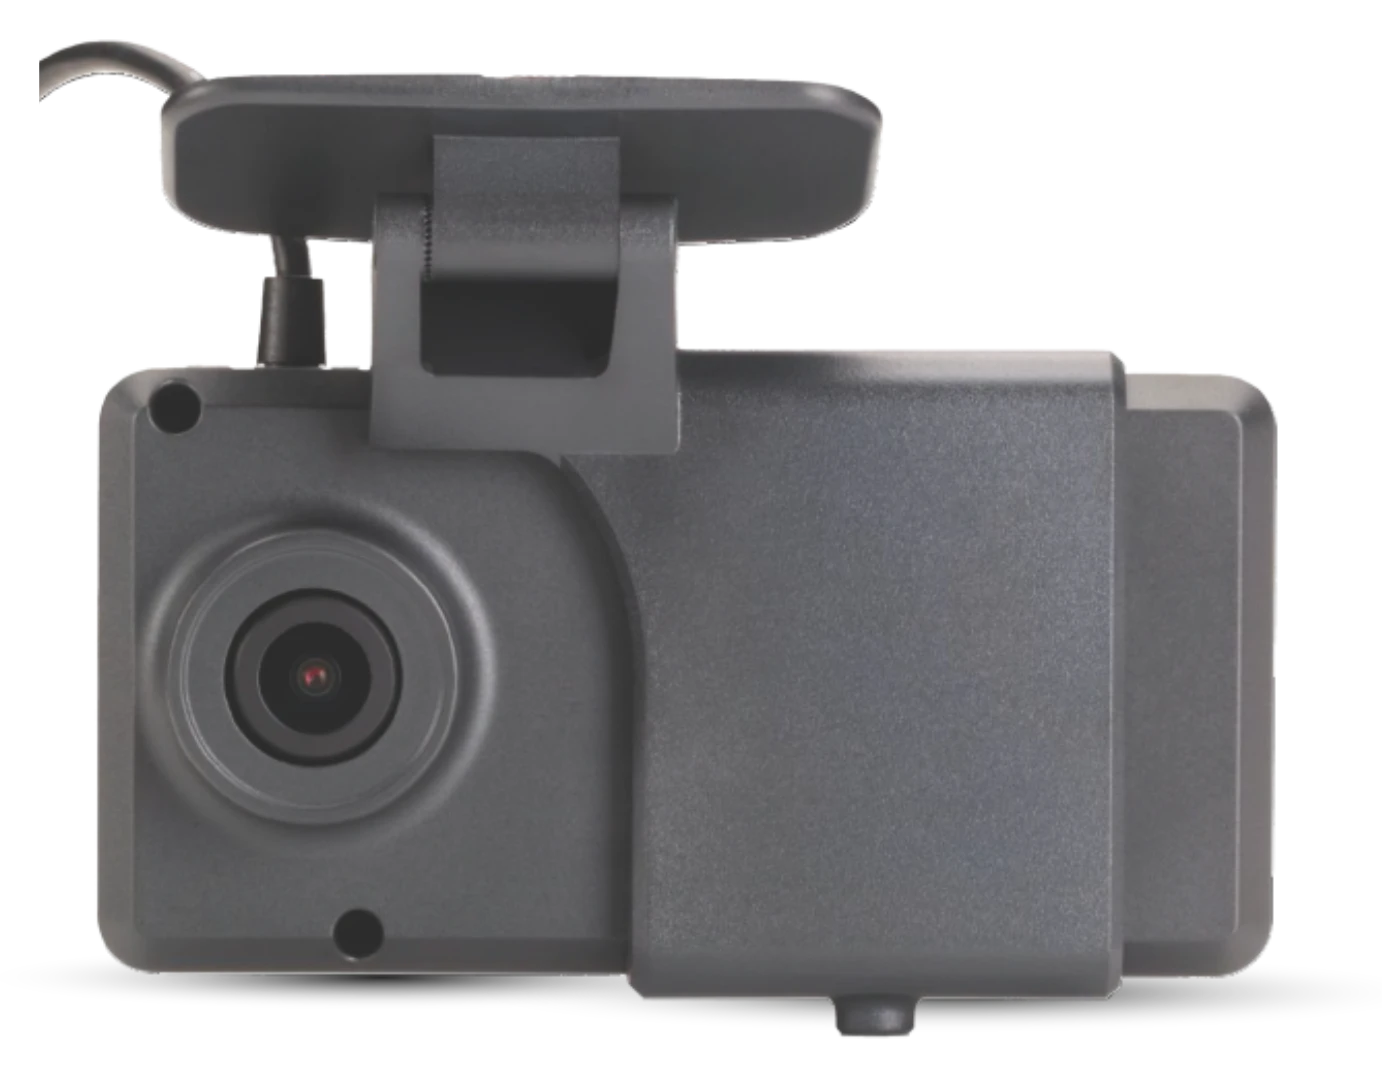
Slide the camera in and lock it with the tool in the box.
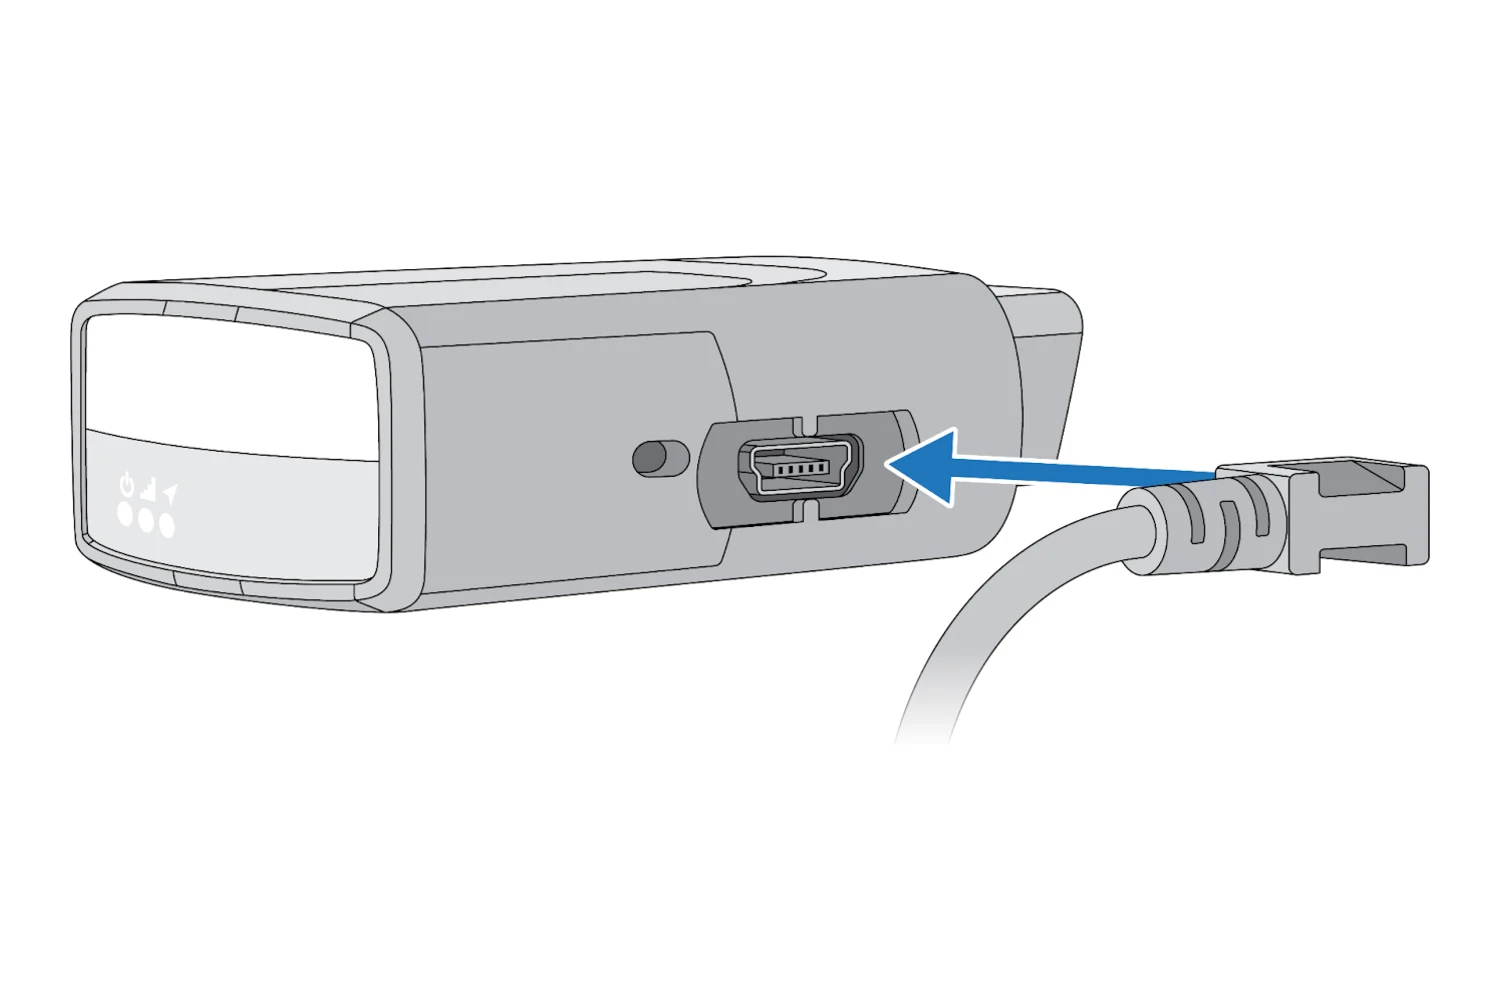
Unplug the tracker, connect the camera cable to its expansion port, and plug the tracker back in.
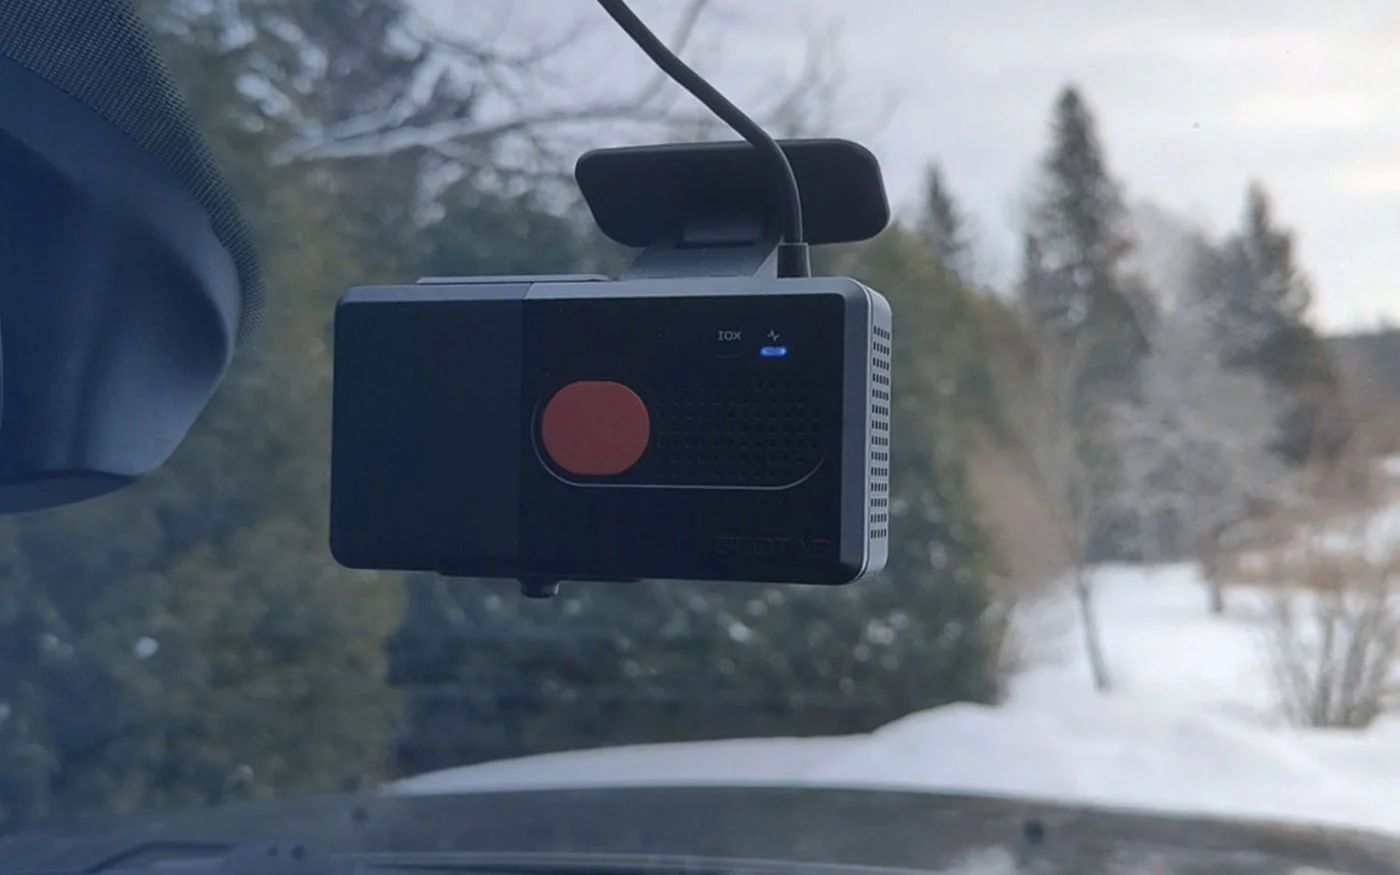
Start the vehicle. A chime and a solid blue light mean it is active, a quick alignment from your phone finishes it, and we confirm it with you.
Driver ID, temperature, or satellite on the same vehicle.
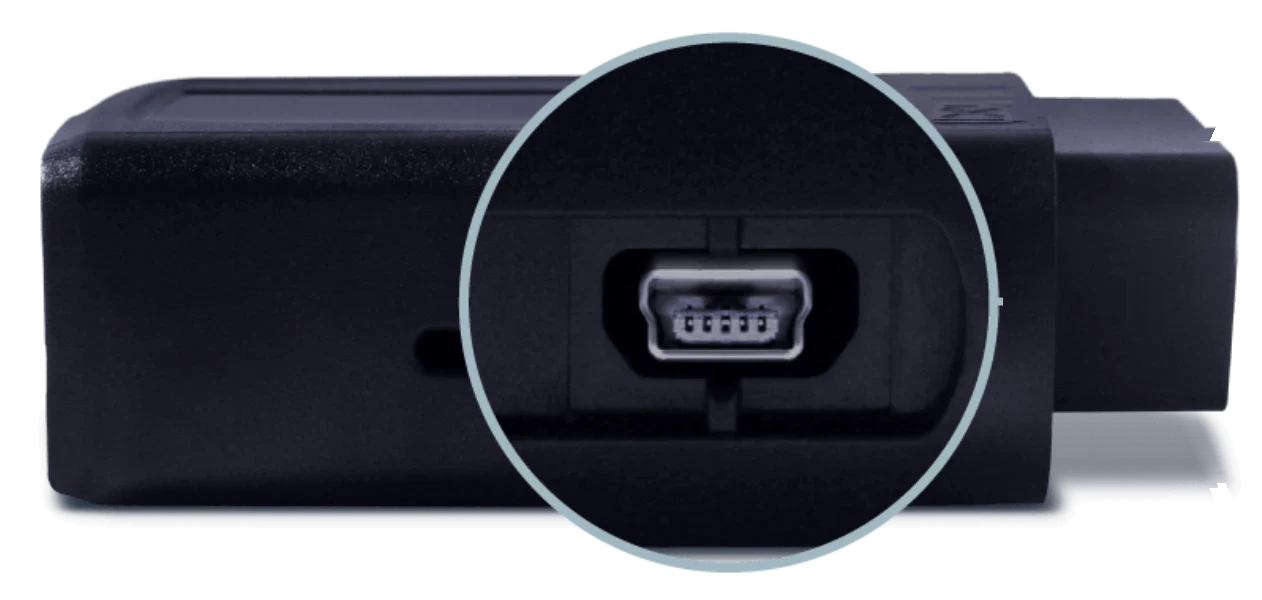
Plug the other add-ons into the tracker first.
Connect the camera last in the chain.
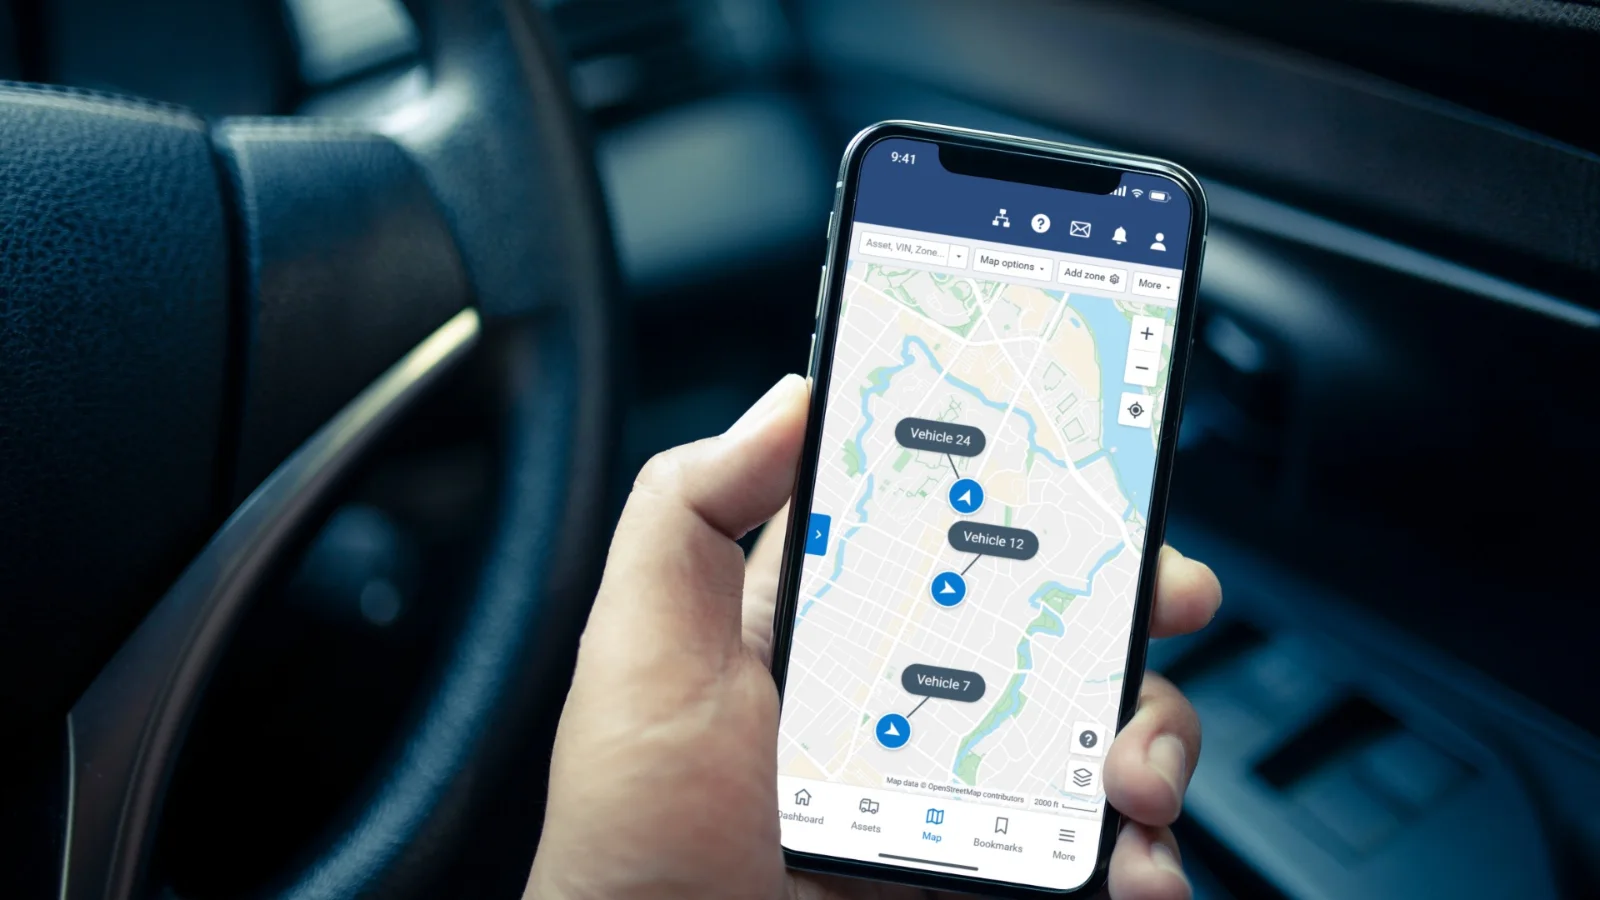
We verify the whole chain is reporting before the vehicle leaves the yard.
Road and driver views, placed and aimed from your phone.
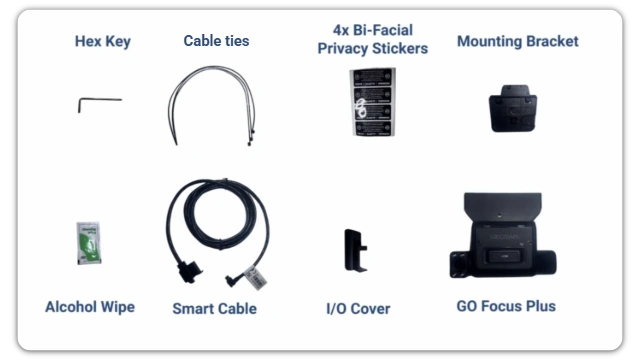
Click the bracket onto the camera and connect the Smart Cable.
Unplug the tracker, connect the Smart Cable to its expansion port, and plug the tracker back in.
Wait a few minutes for the solid green light.
Open the Geotab Video app, tap Activate dashcam, and follow it to place and aim the camera.
Fit the cable cover with the hex key in the box. Your installation report lands in the app.
For a factory look, or one auxiliary camera where you need another angle.
Tuck the Smart Cable into the windshield pillar trim seam and the door seal.
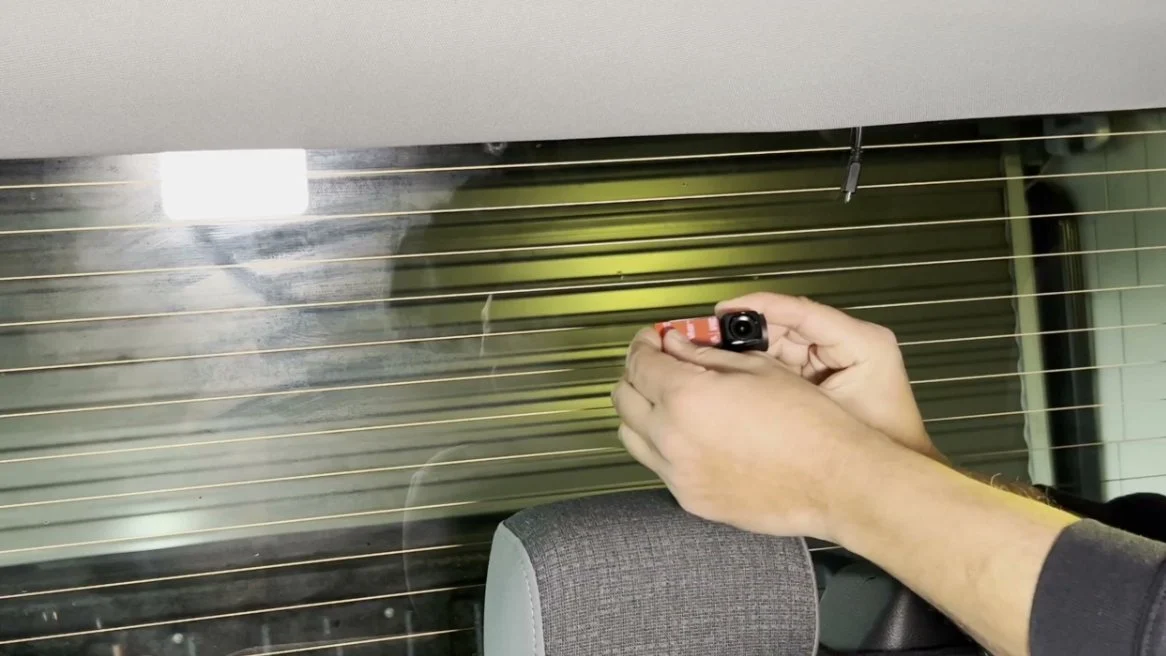
Mount the auxiliary camera where you need the view, such as the rear window.
We confirm both views with you.
The rear auxiliary camera is near the end of Geotab's GO Focus Plus video below.
Clips from Geotab's official GO Focus Plus install video, shown as a general guide.
The full AI camera on its own, before any add-on cameras.
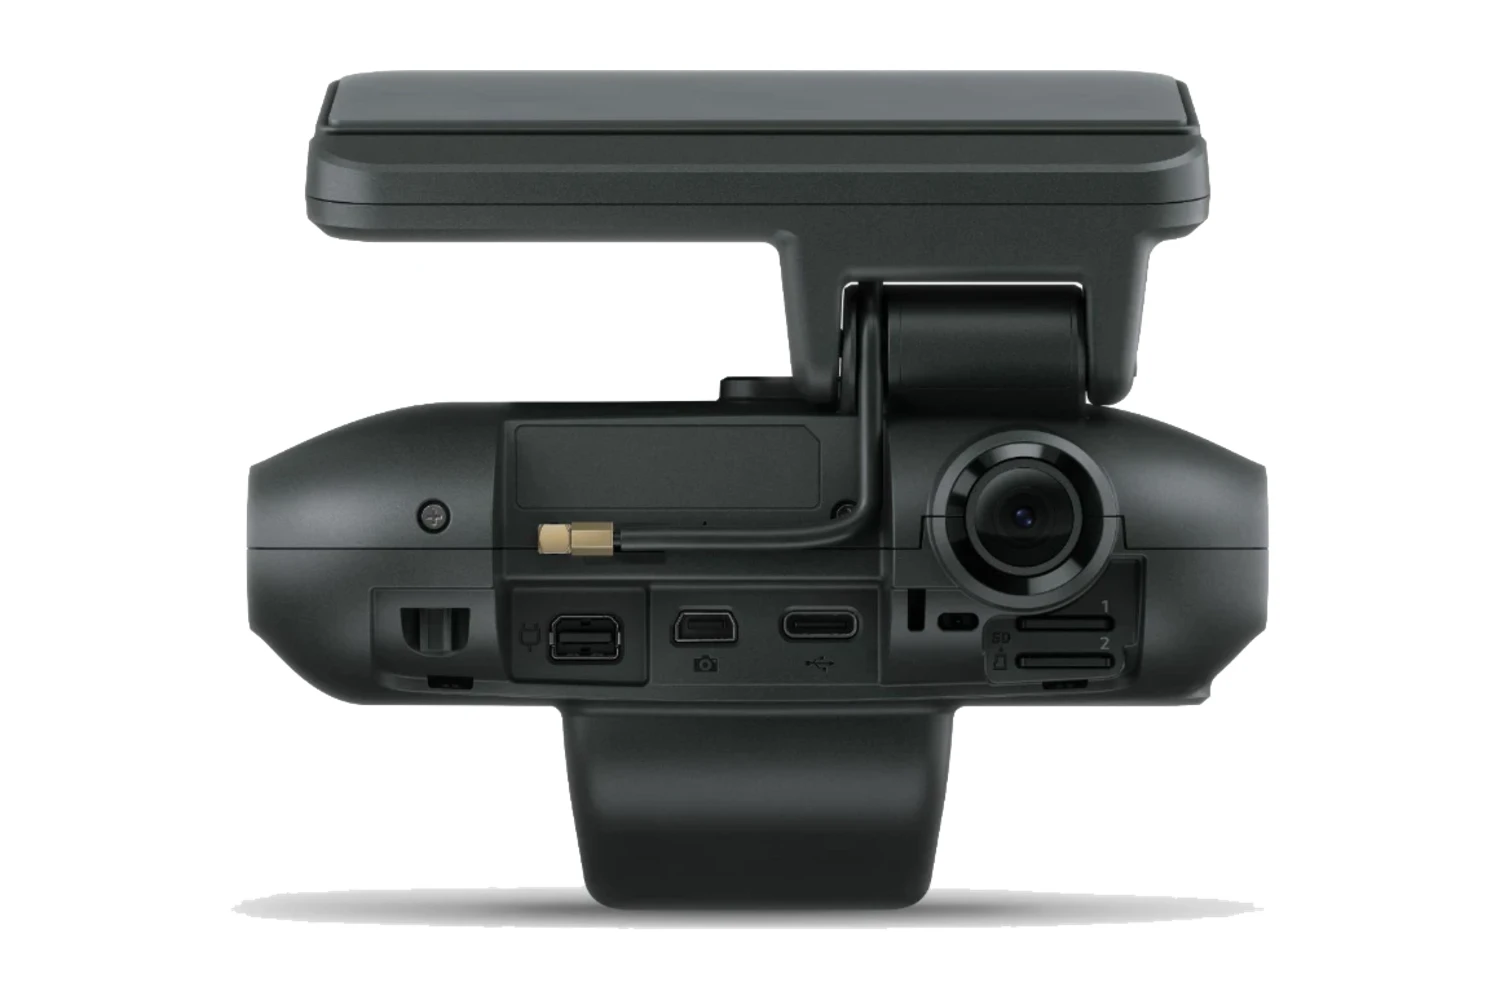
We confirm the right wiring and install path before anything ships.
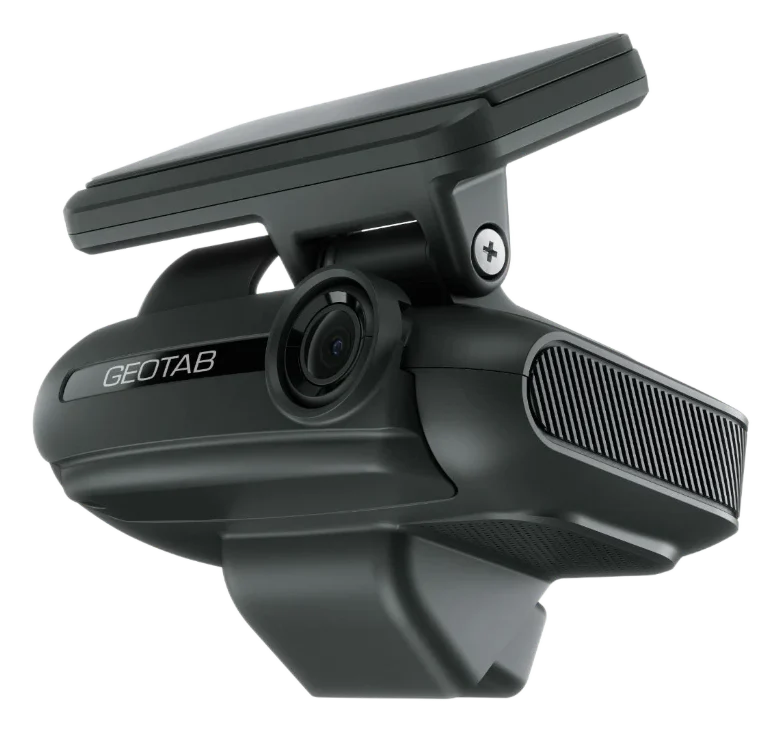
Mount the windshield unit, level and facing straight ahead.
Connect its own power cable from the vehicle.
Aim it, and we confirm both views with you.
As many as 5 auxiliary cameras and an optional in-cab monitor for the highest-risk work.
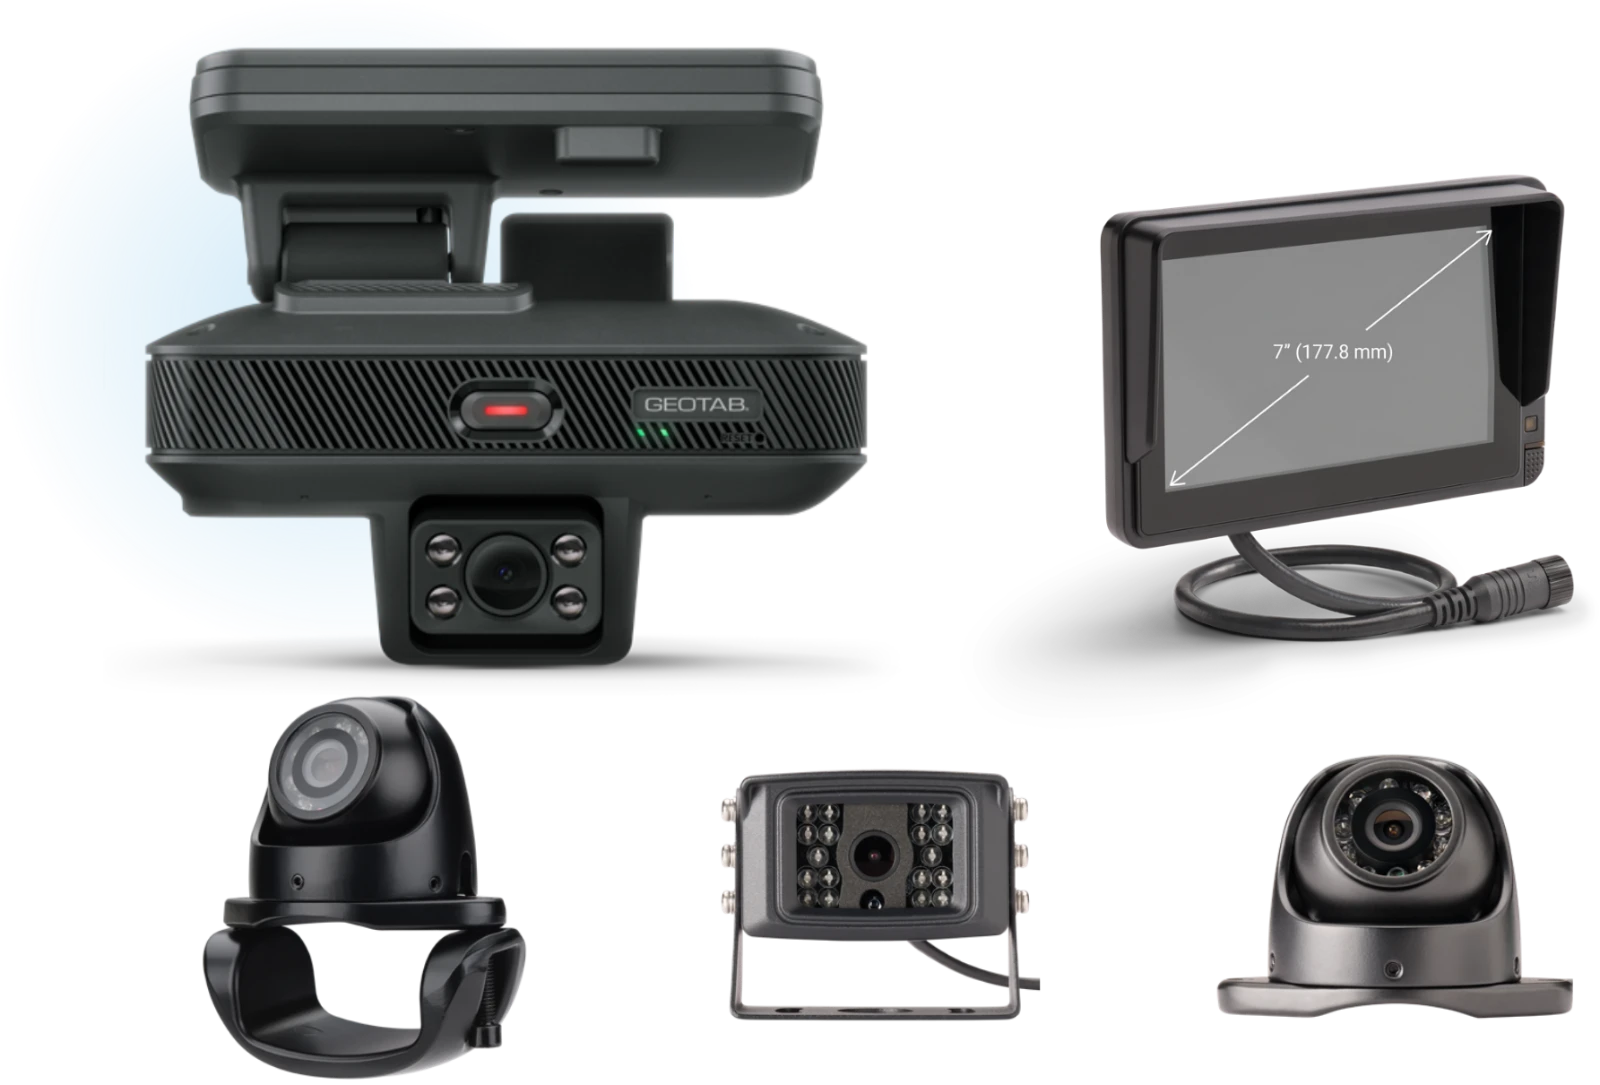
We spec the exact camera layout for your fleet with you before anything ships.
Mount the windshield unit first.
Mount each auxiliary camera where the layout shows and connect it to the windshield unit.
Add the in-cab monitor if your layout includes one.
We confirm every view with you.
How to Install the GO Focus AI Dashcam with a Geotab GO Device
Video from Geotab's official channel, shown as a general guide. Your GO Focus ships configured for your fleet, a quick alignment from your phone finishes it, and we confirm it with you.
How to Install GO Focus Plus Dash Cam | GO Devices Required
Video from Geotab's official channel, shown as a general guide. Your GO Focus Plus ships configured for your fleet, the Geotab Video app guides the aim, and we confirm both views with you.
Special Cases
Tint bands, cold mornings, box trucks, and heavy trucks are still a job for your own crew.
Your crew: Picks the next clear spot high and near the center, inside the wiper sweep, clear of the sensor housing.
How we help: On GO Focus Plus and Pro, the Geotab Video app shows the live view before the adhesive comes off.
Your crew: Runs the defrost or A/C on the glass first, wipes the spot clean and dry, and presses for 30 seconds.
How we help: We confirm the camera is active with you once it is on the glass.
Your crew: Lowers the visor and checks the driver view in the Geotab Video app before peeling and pressing.
How we help: We confirm both views with you.
Your crew: Sets the auxiliary camera between the defrost lines, or on the fixed glass beside a sliding pane.
How we help: We confirm both views with you.
Your crew: Mounts each camera where the layout shows, the rear one high and centered, the sides on the mirror arms.
How we help: That is the GO Focus Pro layout, specced for your fleet with you before anything ships.
Your crew: Does the same install, since GO Focus runs on 12V and 24V with the same mount and one cable.
How we help: Past coverage, footage stores on the camera and uploads once the vehicle is back in coverage.
High and near the center, behind the mirror and inside the wiper sweep, clear of the driver's view and toll tags.
Yes. Run the defrost first so the glass is at cabin temperature, then press the bracket on for 30 seconds.
Yes, a GO9 or GO10, so a factory-connected vehicle gets a GO device for the camera too.
From your phone: GO Focus Plus is aimed in the Geotab Video app, and a quick phone alignment finishes GO Focus.
We stay on the line until the device is reporting. New to Geotab: start with a free demo device.