Next-Gen GO10 installation
Click, Tuck, Report: Next-Gen Geotab GO10 Installation
Newer vehicles. The GO10 arrives configured for your fleet, with built-in Bluetooth, and it is video-ready for GO Focus cameras.
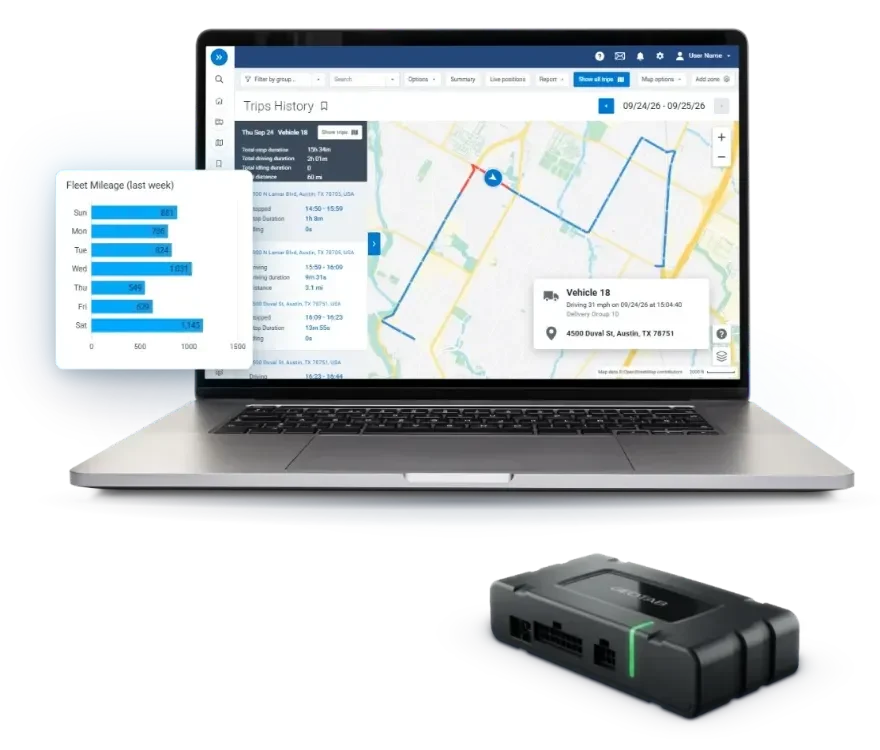
Next-Gen GO10 installation
Newer vehicles. The GO10 arrives configured for your fleet, with built-in Bluetooth, and it is video-ready for GO Focus cameras.
Size and Fit
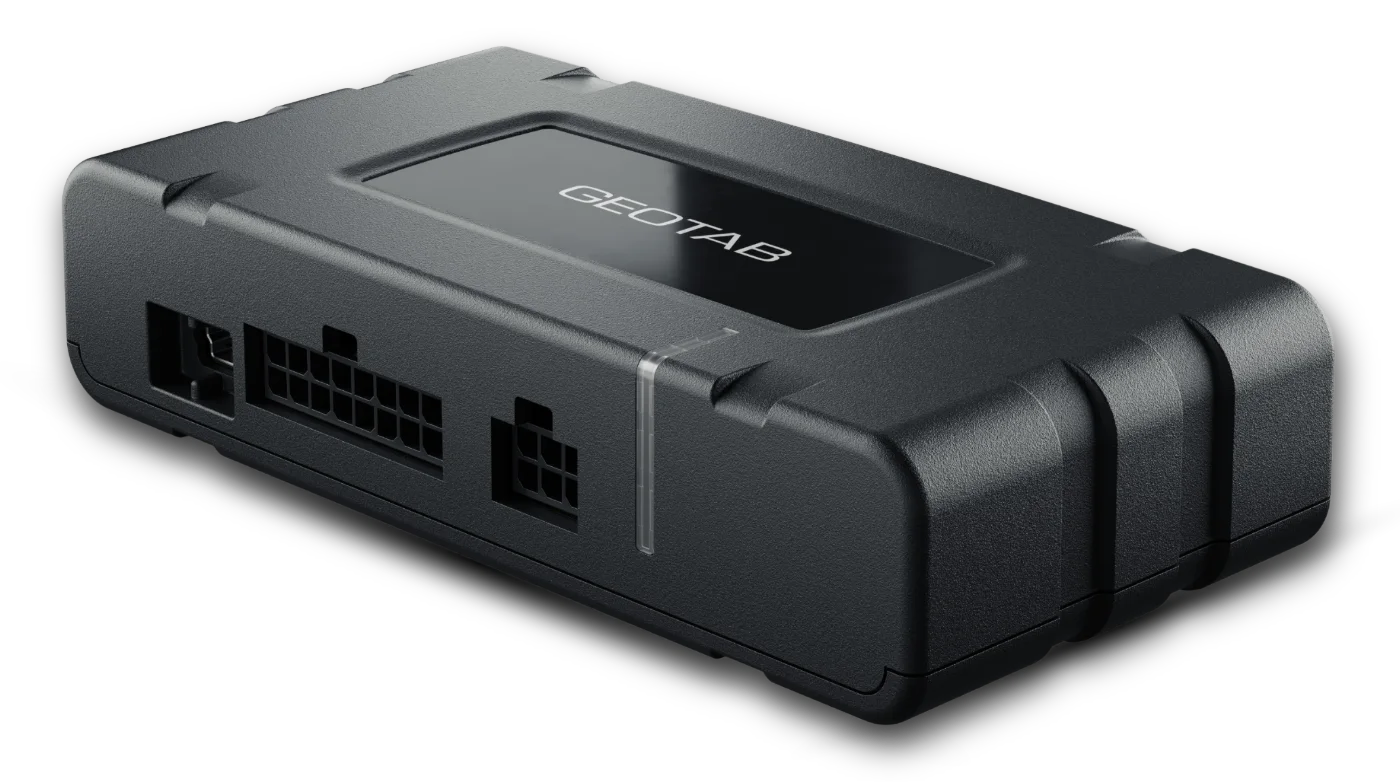
Every GO10 rides on a click-together harness, so every install ends tucked out of sight.
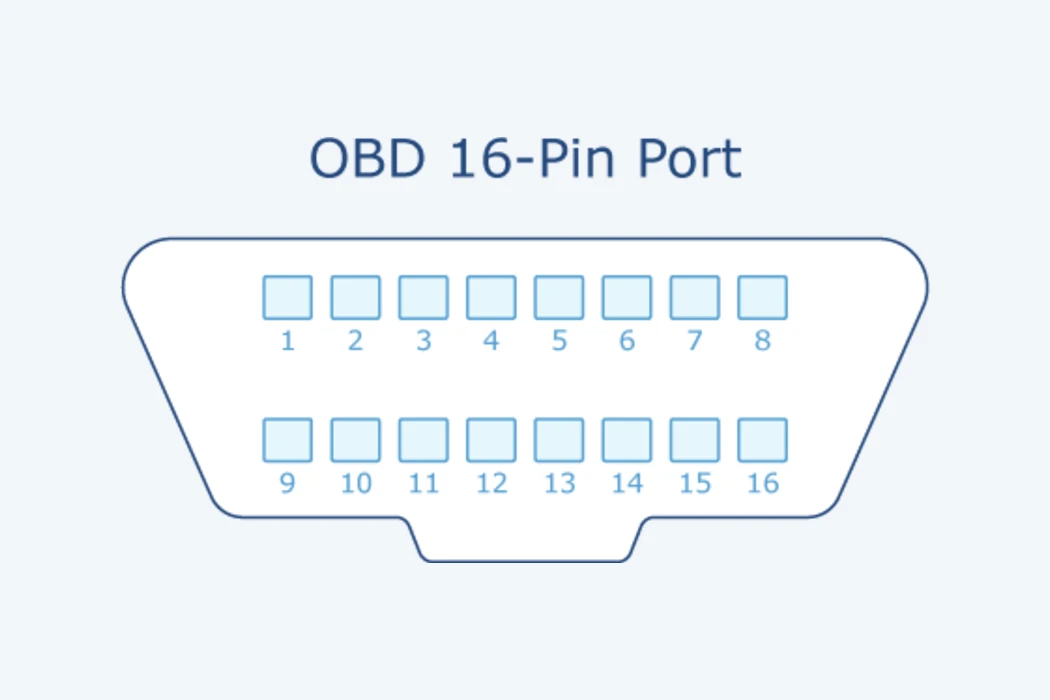
Find the diagnostic port in the driver's footwell.
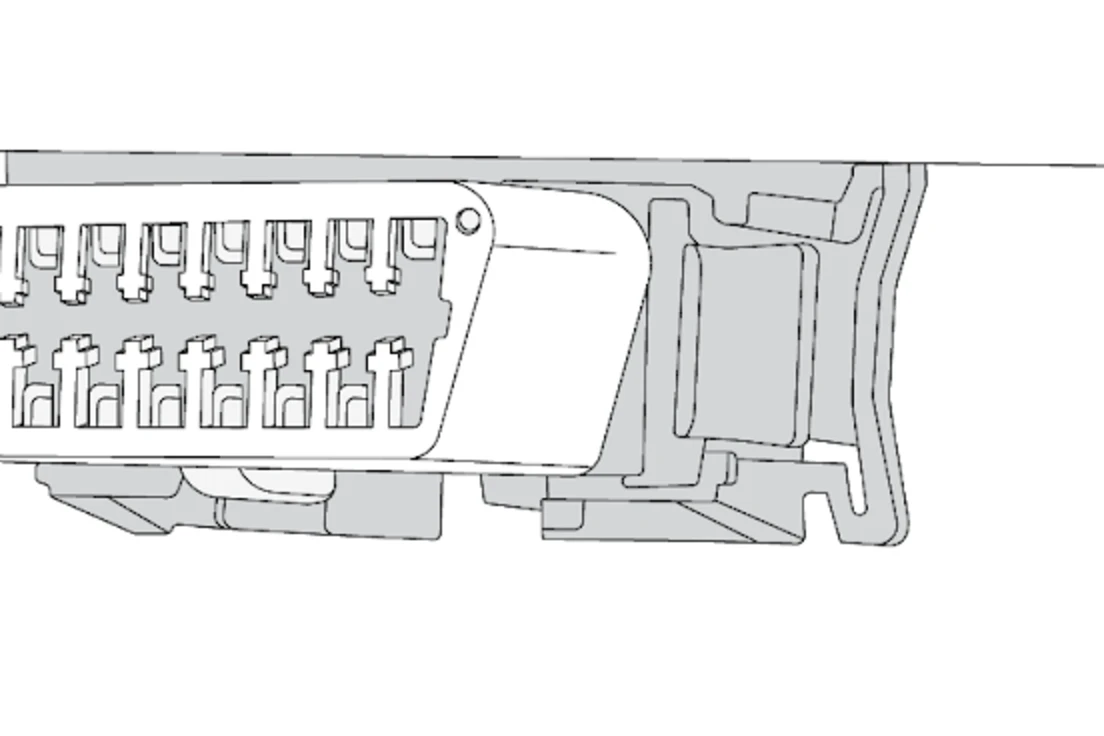
Plug the GO10's harness into the port.
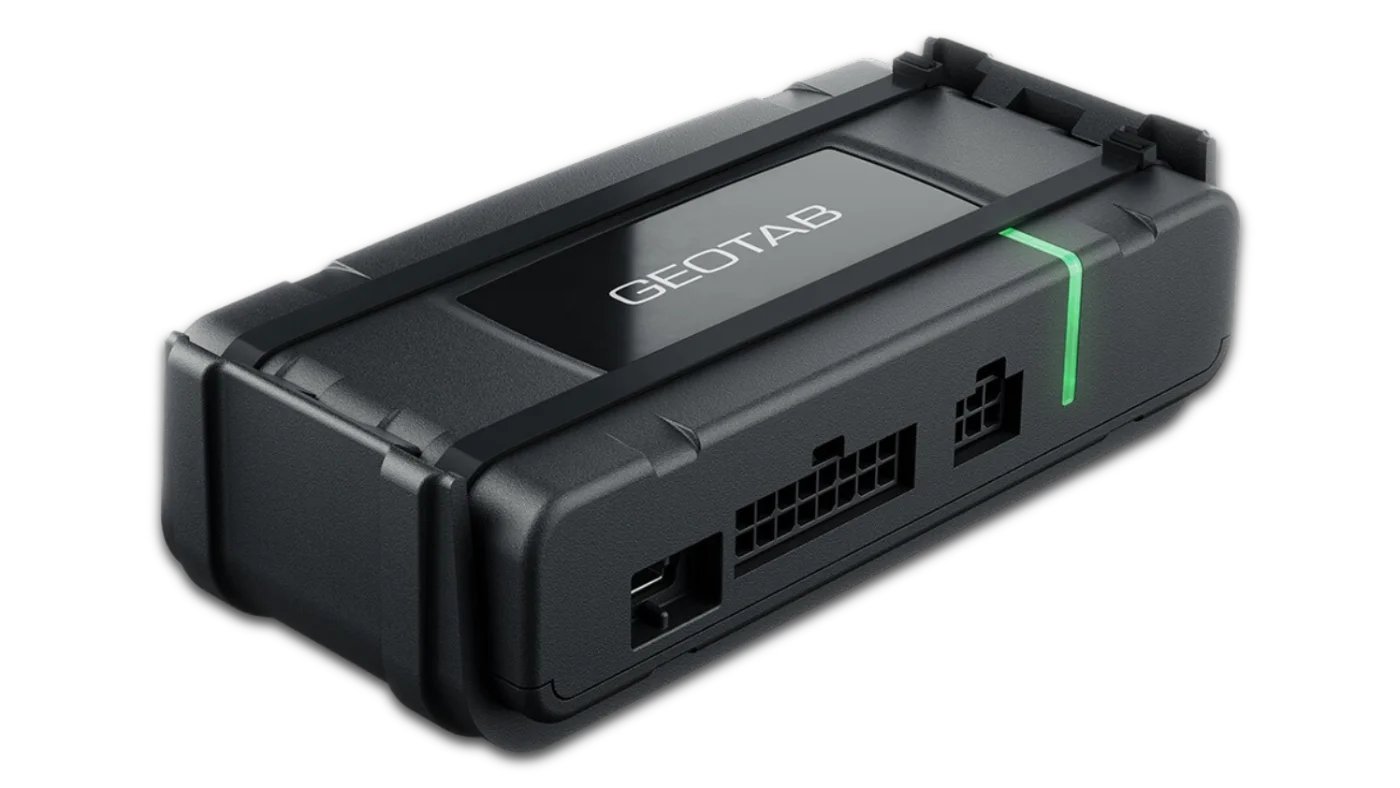
Click the harness into the GO10 and turn the key.
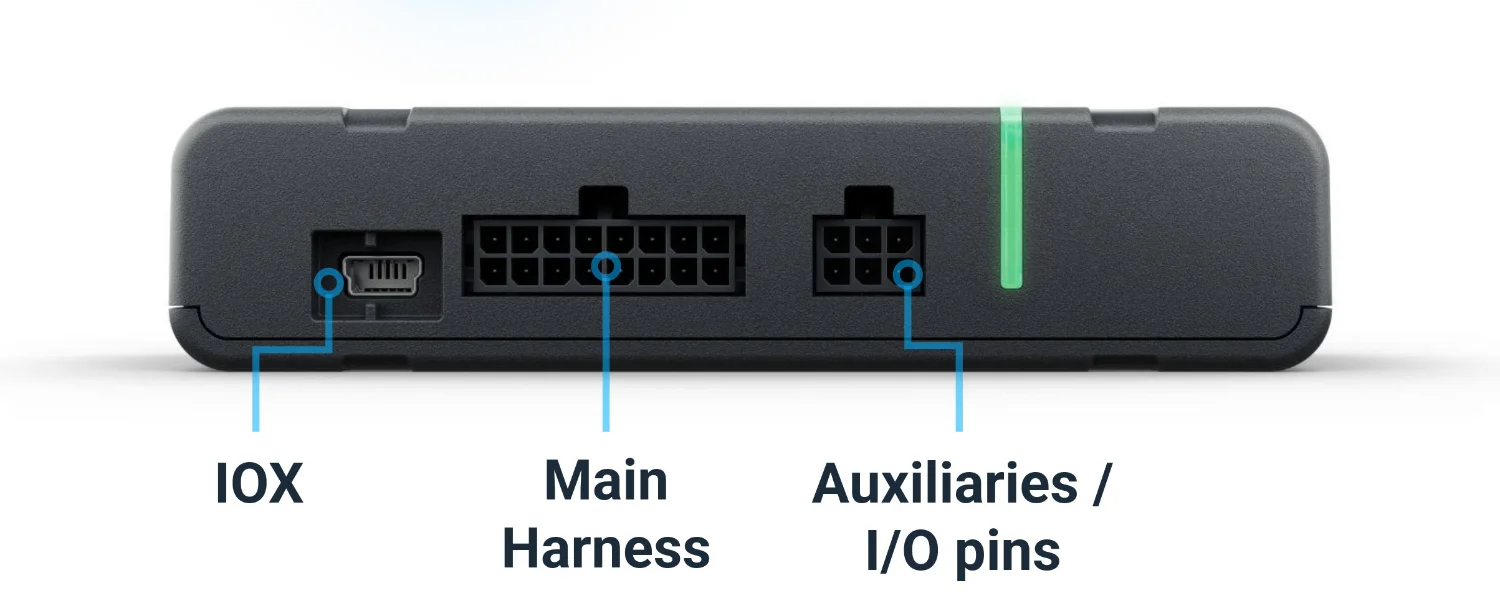
The light flashes white for about a minute, then turns solid green. Green means done.
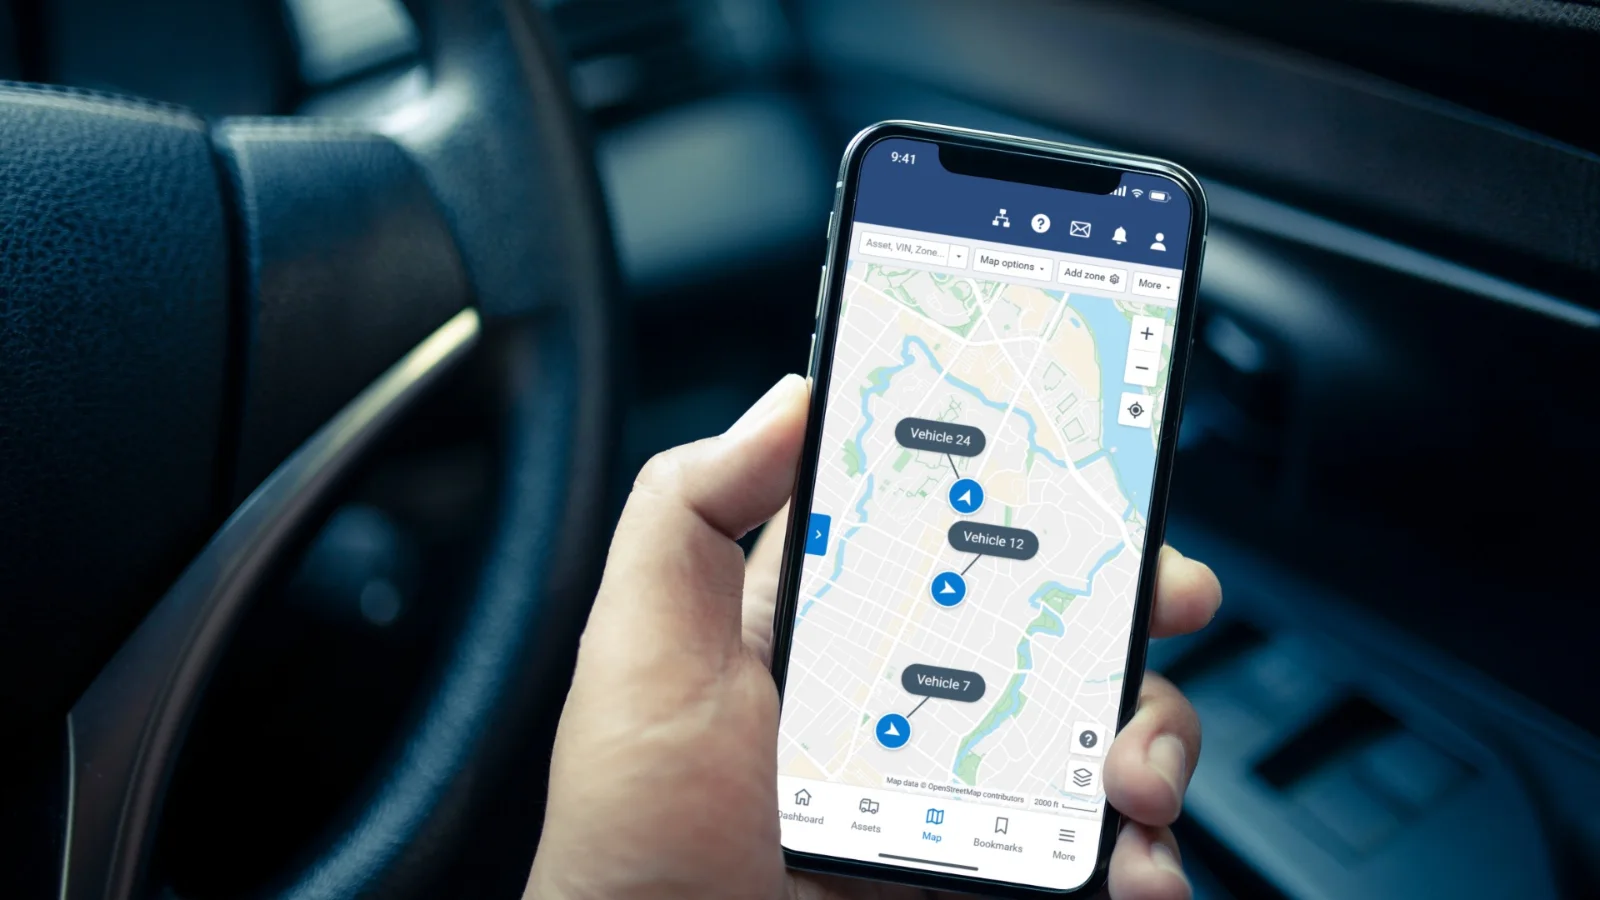
Tuck it behind the dash with two cable ties, and we confirm it is live with you.
Heavy trucks on the 9-pin or heavy-duty 16-pin connector, matched before it ships.
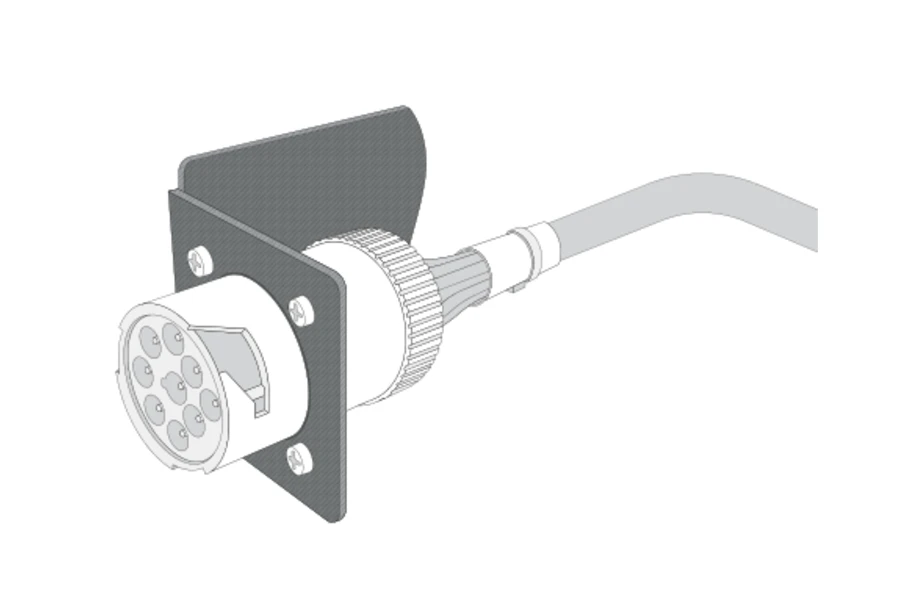
Unplug the truck's diagnostic connector from its dash bracket.
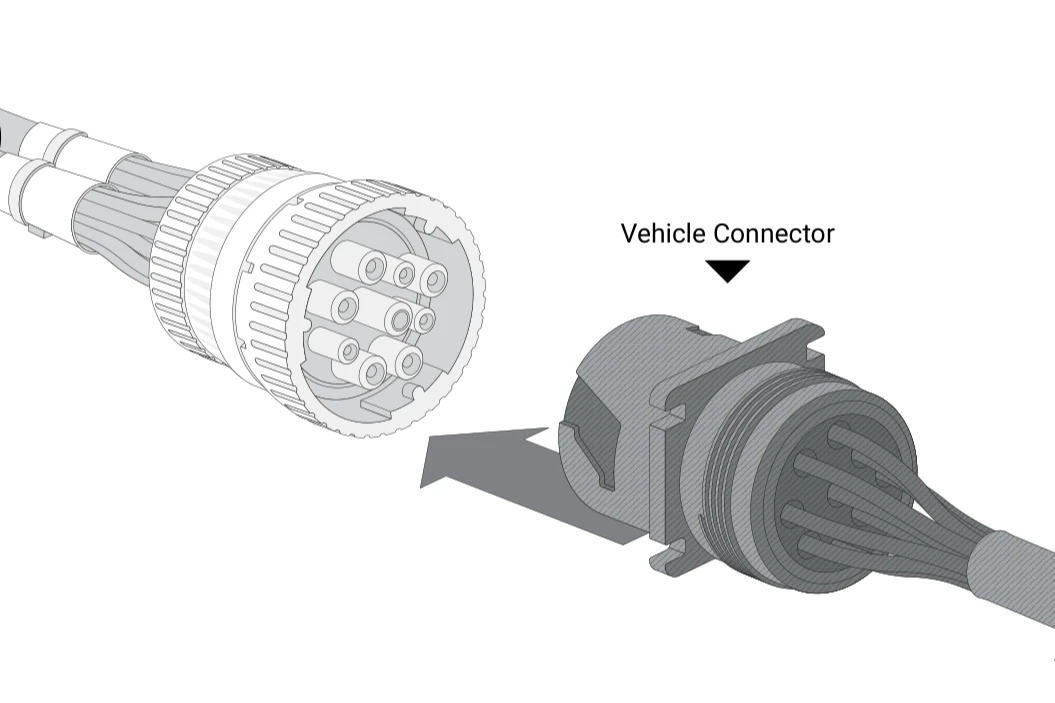
Seat the heavy-duty harness in that same bracket and plug the truck's connector into it.
Click the harness into the GO10 and turn the key.
Solid green means done, and we confirm it is live with you.
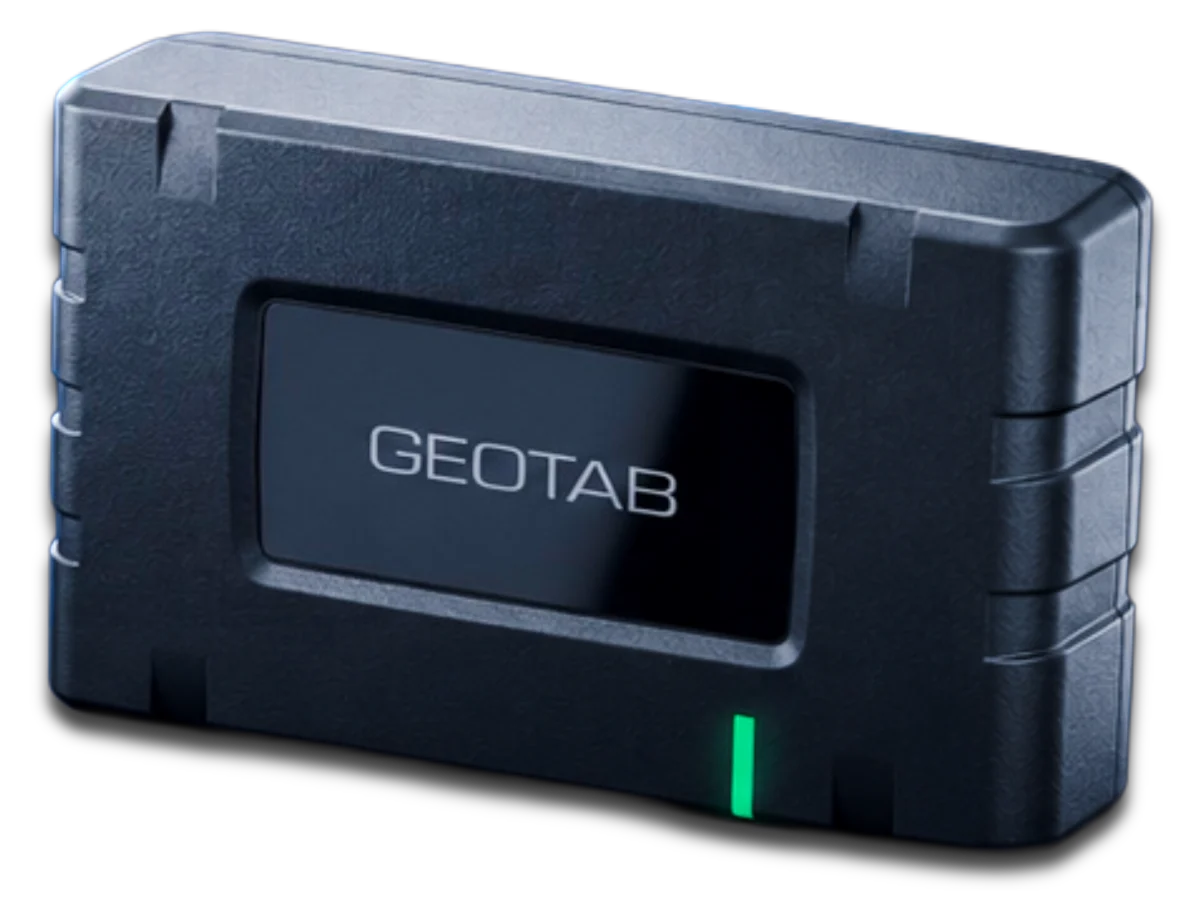
The GO10 has one light. Solid green means done.
How to Install the Geotab GO10 Device Using a Standard 16-Pin T-Harness Kit
Video from Geotab's official channel, shown as a general guide. Your GO10 arrives configured for your fleet with its harness matched to the vehicle, and we confirm it is live with you.
Unusual Vehicles
Odd dash mounts, covered bays, and heavy trucks still come down to one click and one green light.
Your crew: Clicks the matching kit bracket onto the harness, seats it where the port was, and clicks in the GO10.
How we help: The harness ships matched to the vehicle, and we confirm it is live with you.
Your crew: Leaves it plugged in and rolls the vehicle out under open sky, where it finds signal and turns green.
How we help: Solid green means done, and we confirm it is live with you.
Your crew: Turns the key on a quick green flash. A fast white flash is an update: they leave it plugged in.
How we help: It goes solid green when it is done, and we confirm it is live with you.
Your crew: Seats the heavy-duty harness in its bracket, locks in the truck's connector, and clicks in the GO10.
How we help: The heavy-duty harness ships matched to the truck, with the adapter that fits its dash bracket.
Your crew: Does the same kind of plug-in job either way, and both trackers report to the same MyGeotab map.
How we help: We match it at the desk: pre-2010s vehicles get the GO9, which reads legacy engines.
Through its own Plug-N-Play harness: the harness plugs into the port, and the GO10 clicks on behind the dash.
Solid green means done. Flashing white means it is starting up, and a quick green flash means turn the key.
On a solid surface up behind the dash, held with two cable ties and clear of any moving parts.
We stay on the line until the device is reporting. New to Geotab: start with a free demo device.